Importing a Theme into AllProWebTools
Ready to import your first theme into AllProWebTools? Or, maybe it’s been awhile and you just need a refresher course? Follow these steps to get you on your way:
Creating your own theme template
If you want to copy your own existing theme into your client’s console, you should download the AllProWebTools Default theme located at http://allprowebtoolsthemes.com/. Once you have clicked on the Download button for the default theme, you will have an allprowebtools-default.zip file that you can rename and install into your client’s console. Before installation, you need to make the following change:
- Inside the zip file you will find a folder named allprowebtools-default. If needed, extract the .zip file and rename this folder to what you want to call your theme.
- Re-compress the .zip file. Now, the theme is ready to be installed into the client's AllProWebTools.
 Install the Theme
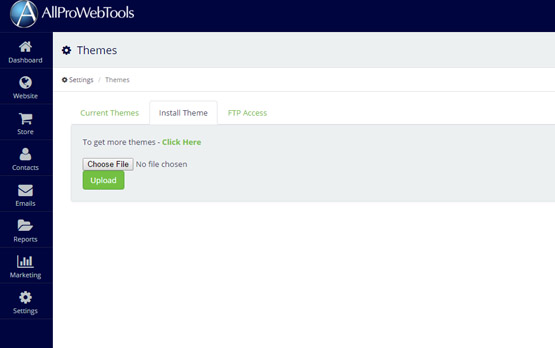
- Log into your client’s AllProWebTools. On the left hand side of the console, go to Settings->Themes.
- Click the Install Theme tab. Upload the .zip file.
- Click on the Current Themes tab. You will now see that your theme is available. To activate your theme, click on the Use this Theme button.
Modifying Stylesheet and HTML Files of the Theme
Stylesheet
The stylesheet for the theme is used to override Bootstrap styles and add new styles. To access the theme's stylesheet:
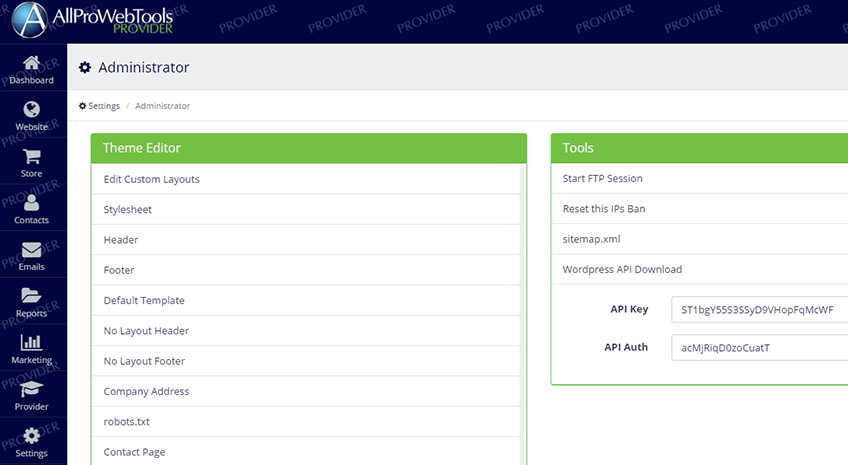
- In the client's AllProWebTools, on the left hand side of the console, go to Settings->Administrator.
- In the Theme Editor panel, click on Stylesheet
- Add your custom styles here and then click on the Save icon.
Modifying the Website's Header and Footer File
The header file contains all the beginning/header content that is common for all pages of the website, such as the head tag and navigation. In a similar way, the footer file contains the structure for the footer. To access the header and footer files:
- In the client's AllProWebTools, on the left hand side of the console, go to Settings->Themes.
- In the Theme Editor panel, click on Header or Footer
- Add your custom content. NOTE: These files contain PHP dynamic content for things such as your navigation and company logo. Do not remove this content, but place as is where appropriate in your theme.
- Click on the Save icon.