How to set up SMTP with SMTP2GO on AllProWebTools
Monday February 28, 2022

You can use this serivice to send emails with AllProWebTools.
How to Setup SMTP2GO with AllProWebTools
1. Create a SMTP2GO account
- When you're signed into SMTP2GO, this is what you're going to see
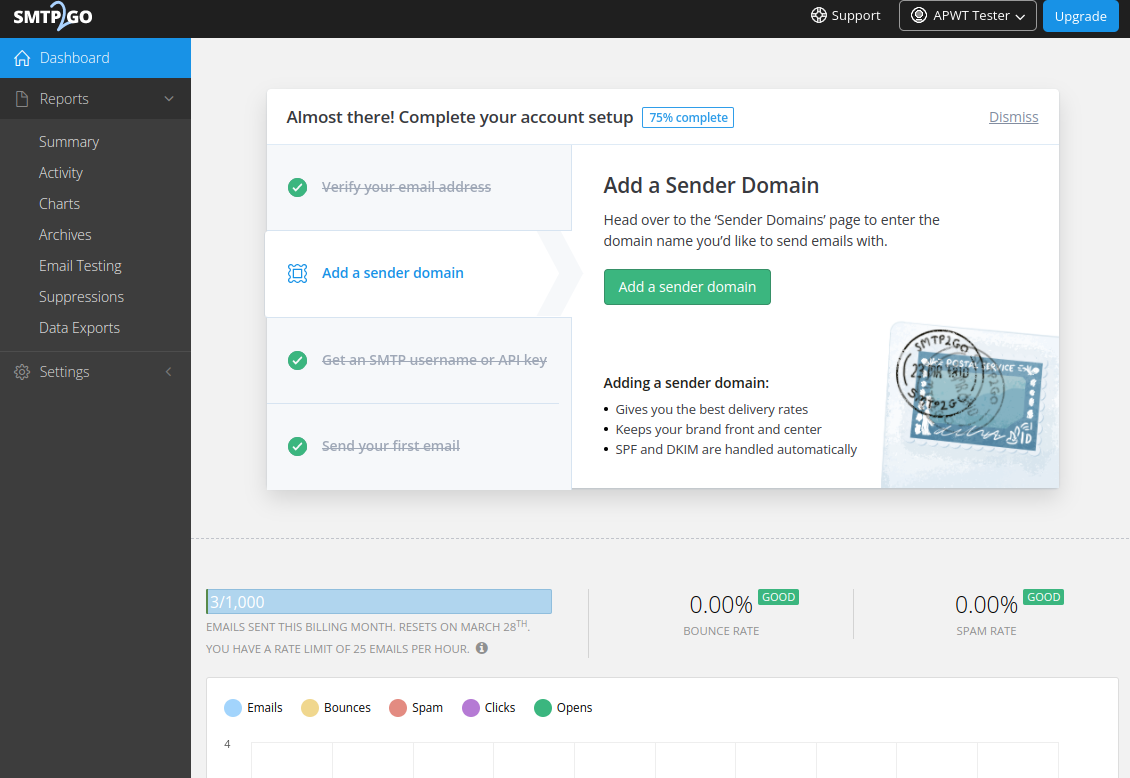
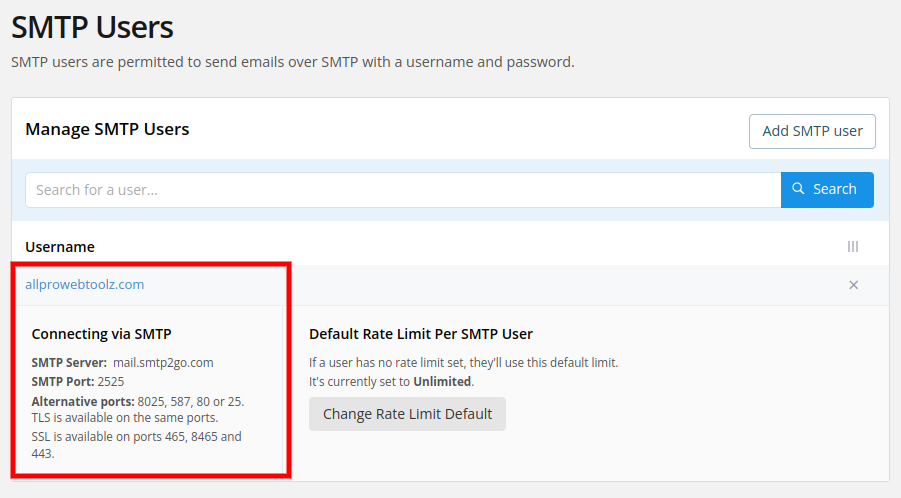
- Click on the "Settings" > "SMTP Users"
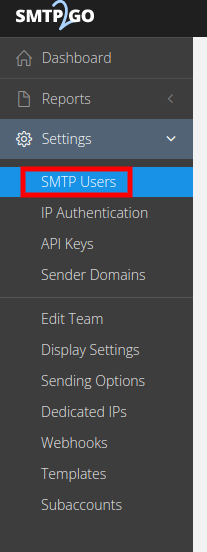
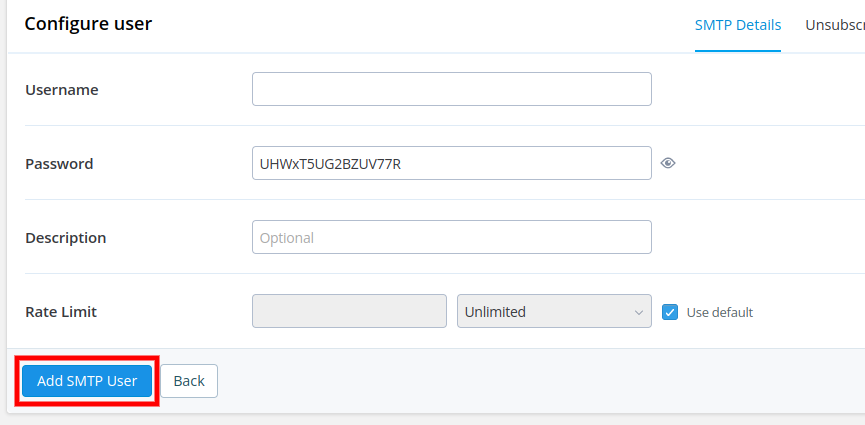
- Click on the "Add SMTP User" button
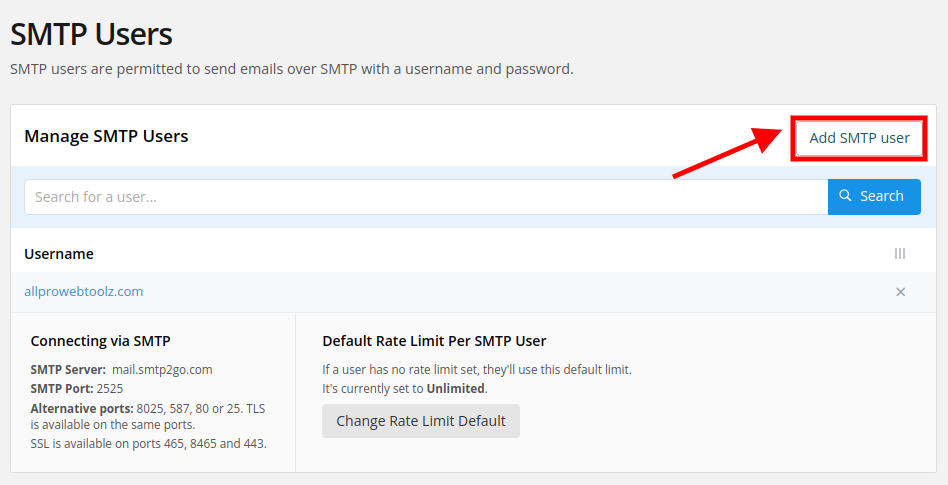
- On this page, the system will provide you with the password of your account
- We suggest to copy the password and save it on your computer at this step so you don't lose it
- Also you can configure the SMTP user on each tab too
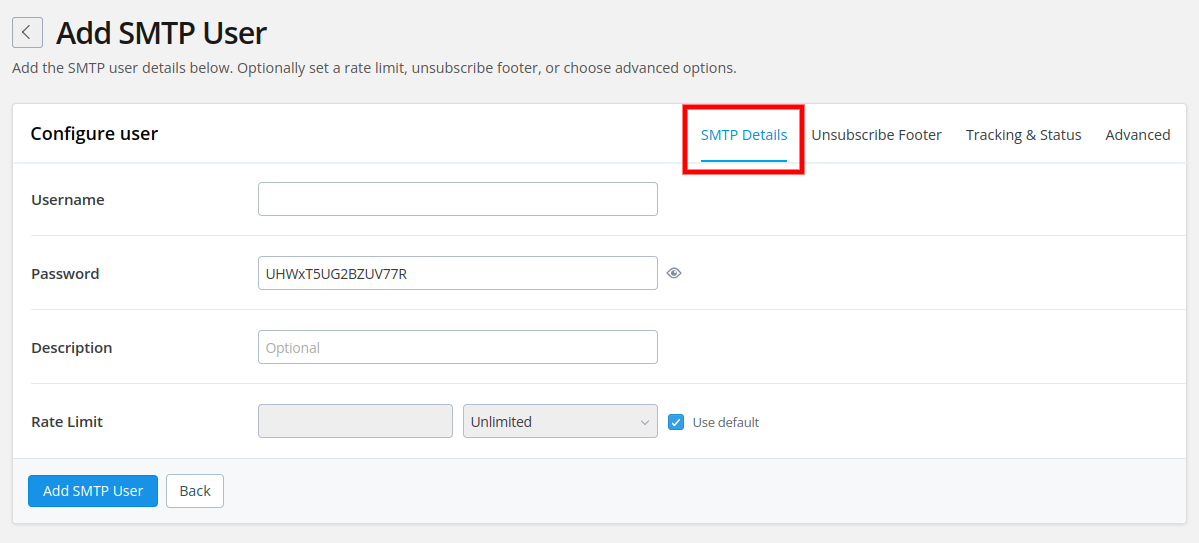
- Click on the "Unsubscribe Footer" tab in order to switch footers on/off for your emails

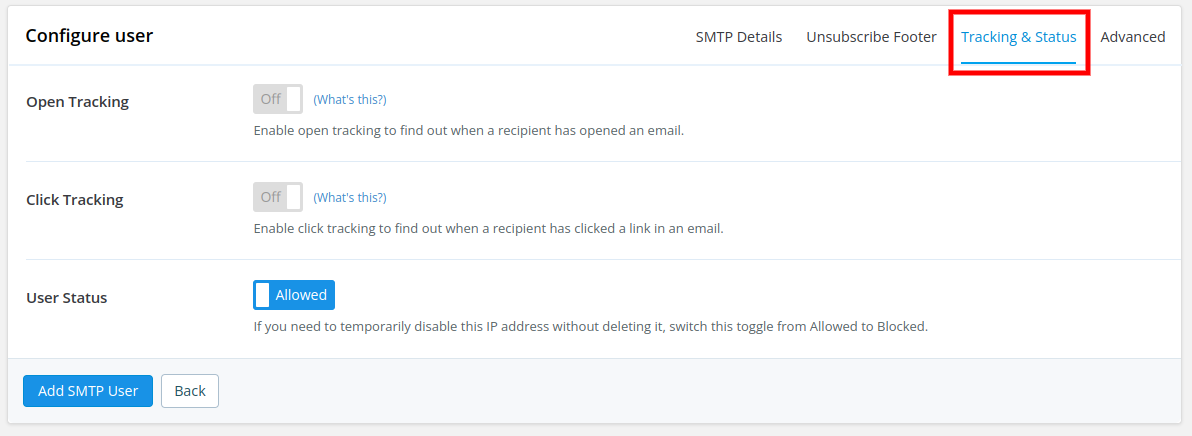
- "Tracking & Status" tab gives you options to track click-through and open rate statistics
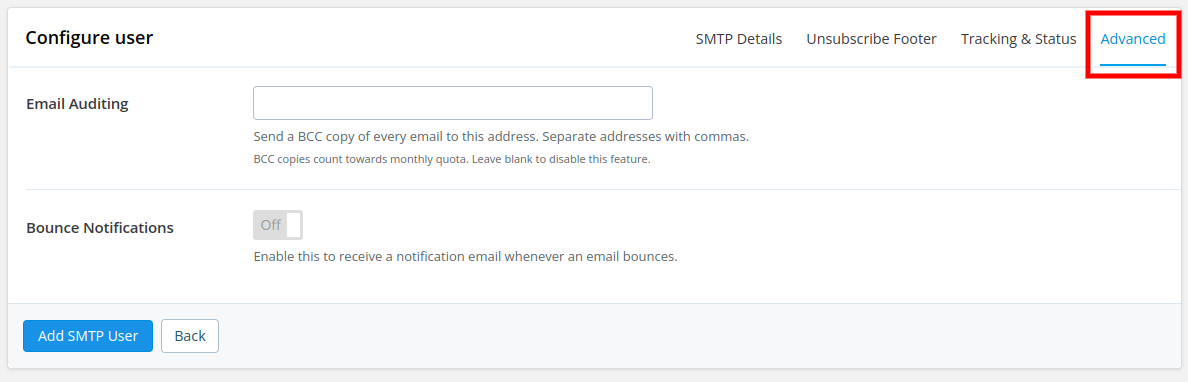
- And lastly, you can see receive notifications for bounced emails from your account by enabling the setting in the "Advanced" tab
- Click on the "Add SMTP User" button and the system will take you back to this earlier page
- Now, you'll see the information that SMTP2GO provides for the user you've just created. This includes the Mail Server, Mail Port and Username
2. Set up SMTP on your AllProWebTools console
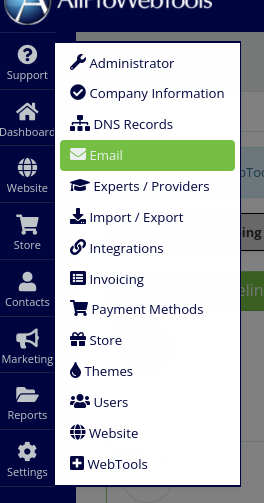
- On your AllProWebTools account, you can go to the "Settings" > "Email"
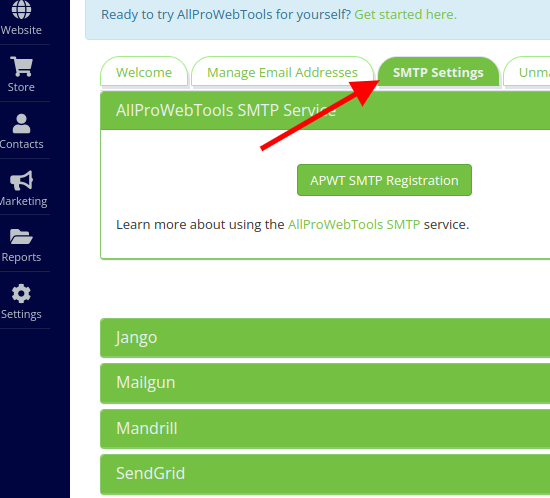
- Click on the "SMTP settings" tab
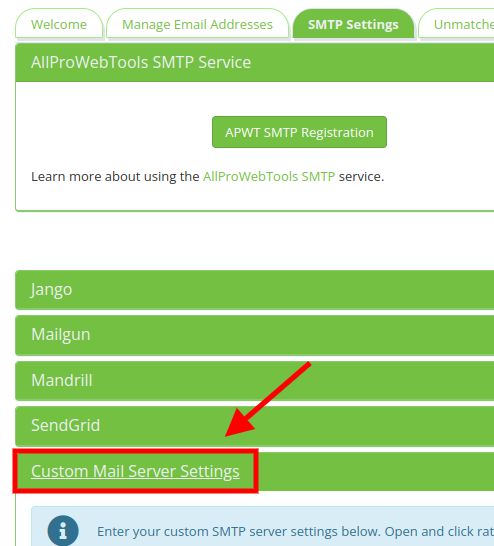
- And then click the "Custom Mail Server Settings" at the bottom of the page
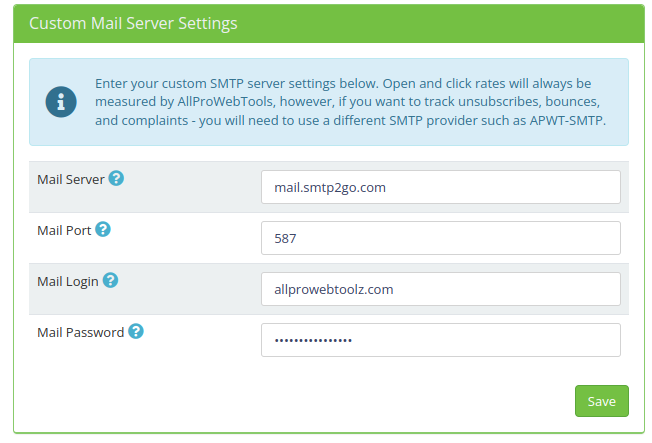
- Here, You can fill in your Mail Server, Mail Port, Username
- and Password you received from SMTP2GO website and save
3. Add your domain to SMTP2GO
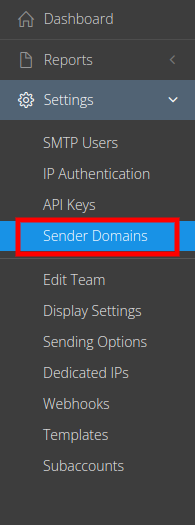
- On SMTP2GO website, go to the "Settings"
- And now we are going to go to the "Sender Domains"
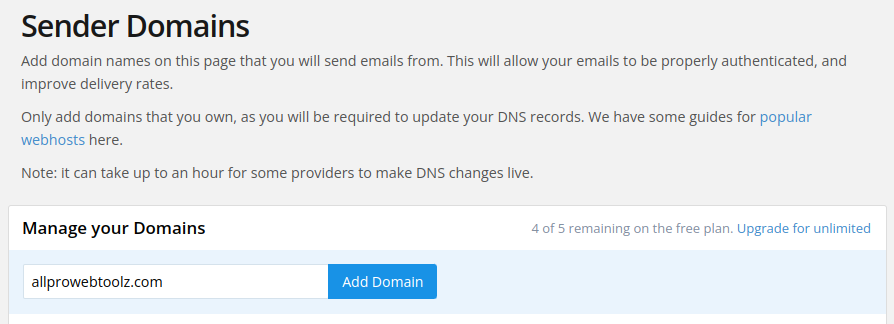
- Type in your domain name then hit the "Add Domain" button
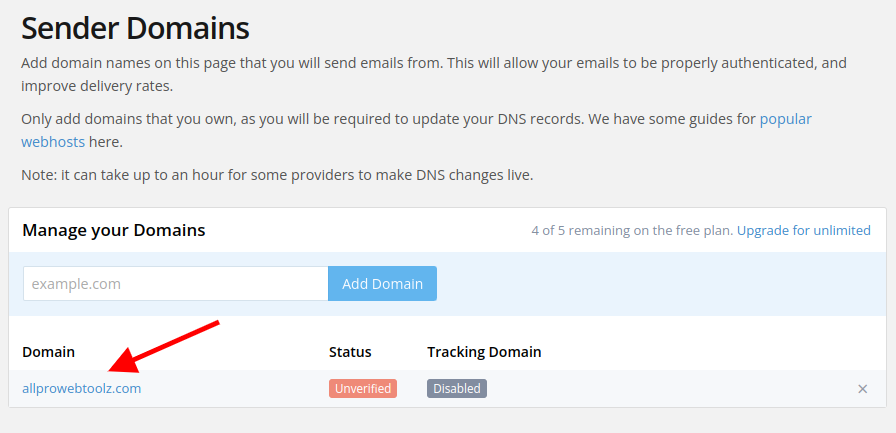
- Once you add the domain, you can click on the name of your domain to access its information
- You can copy your DNS records by just clicking on the "Copy" button
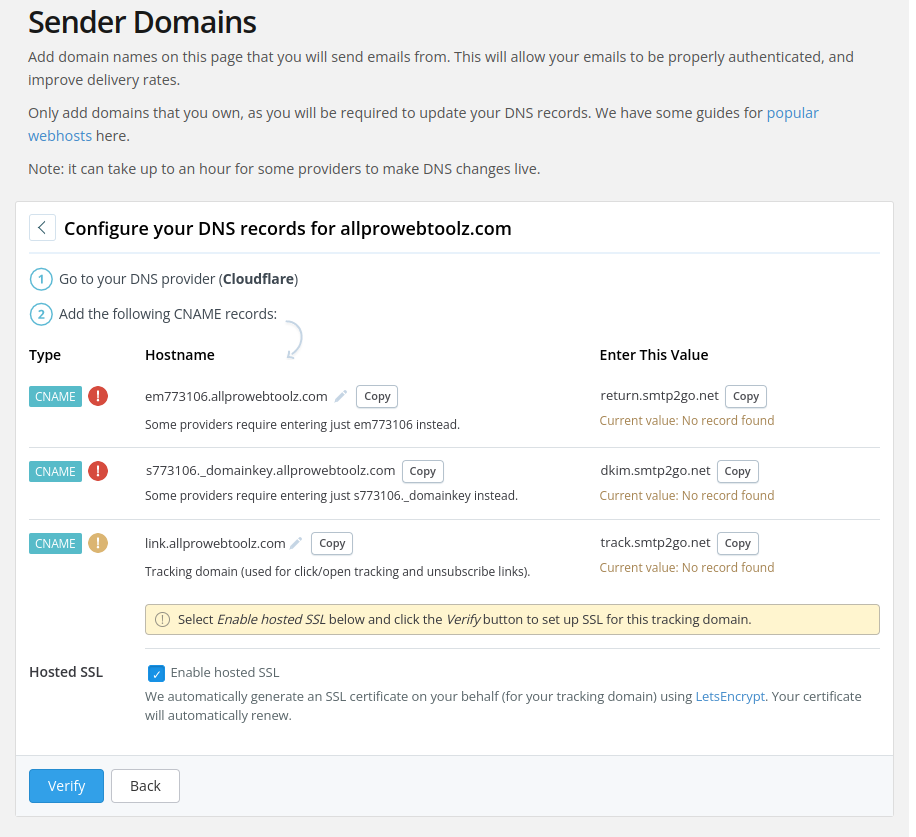
4. Put in your DNS records
- Log into your domain host websites
- You can contact your domain hosting company for more instruction on how to add DNS records or you can also contact AllProWebTools for the support.
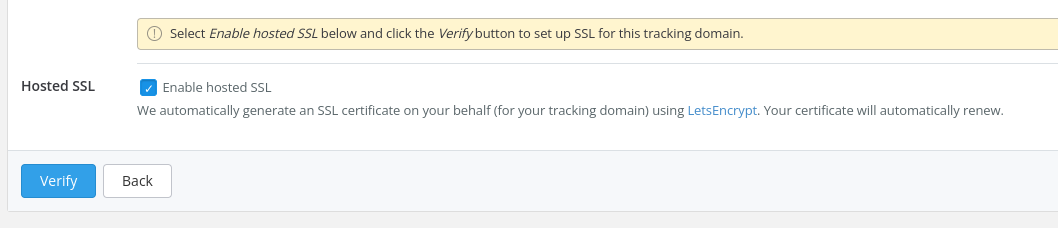
- After put in all the DNS records, you can come back to this page and click on the "Verify" button to see if they has been verified
It's always a good practice to send test email to other email addresses rather than to yourself. Have fun!

Chopper
"Knowledge is regarded by the fool as ignorance, and the things that are profitable are to him hurtful; he liveth in death, it is therefore his food."
- The Emerald Tablets Of Thoth The Atlantean
Originally from the northern part of Thailand, Chopper has always been intrigued by the ways in which technology can improve people's lives, and he has made it his mission to stay up to date with the latest advancements. He is also a dedicated learner with a wealth of knowledge to provide the best possible service to AllProWebTools!
Categories
Recent Posts
Popular Tags
chat Recruiters new business employee giving up connie kercher last day google win job interviewArchives
Subscribe
