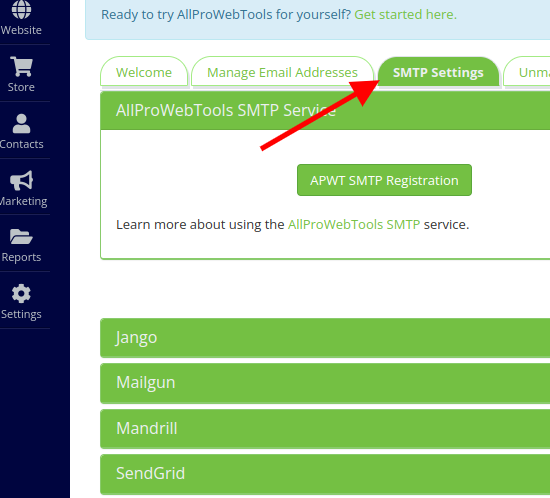
How to set up SMTP with SendInBlue on AllProWebTools
Thursday March 3, 2022
SendInBlue is another interesting choice for a SMTP service provider since their setup is quite straightforward and it comes with a pretty clean user interface as well. Here's how you can use their SMTP service with AllProWebTools

1. Add your domain to SendInBlue account
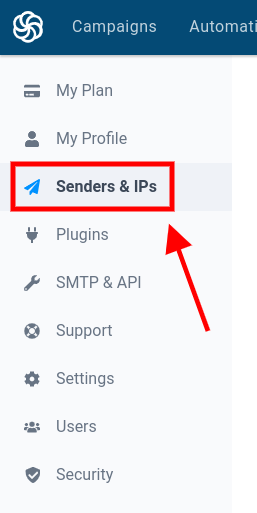
- When you're logged in, you can go to the "Senders & IPs" menu on the left
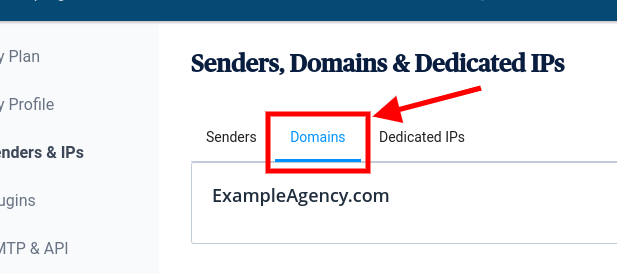
- Click on the "Domains" tab
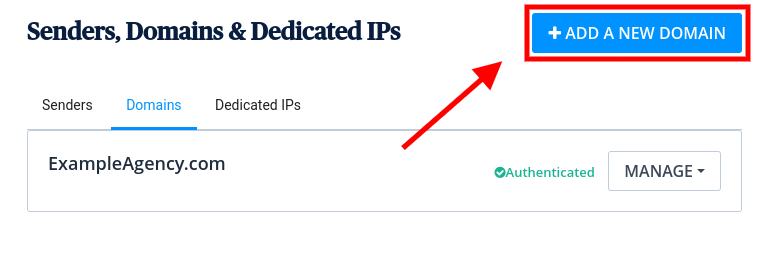
- Click on the blue "Add a New Domain" button
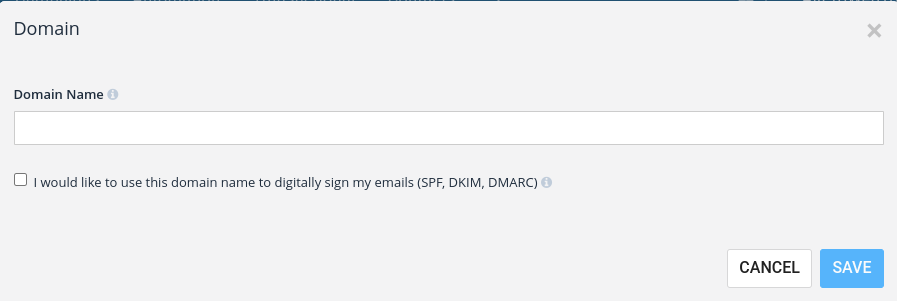
- You can put in your domain name right here, then click "Save"
2. Activate your SMTP account
SendInBlue required you to create a ticket or contact them to request the account activation before you can start using SendInBlue's SMTP
- You can click on these links :
This one for Ticket and this is for Contact
or
- See the instruction: here
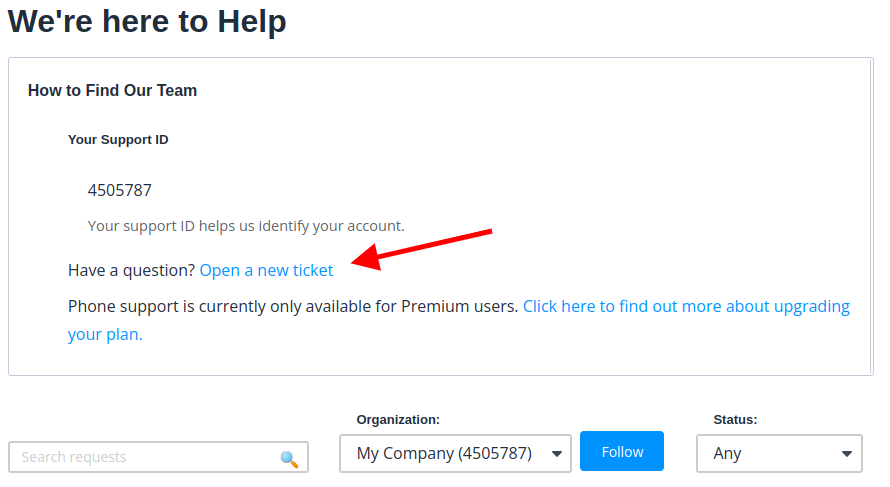
- You can create your ticket by clicking on where it says "Open a new ticket"
Include your ticket note with:
the link to your website,
the type of content you would like to send in your messages (marketing or transactional email),
an estimate of the volume of emails that you expect to send monthly through SMTP.
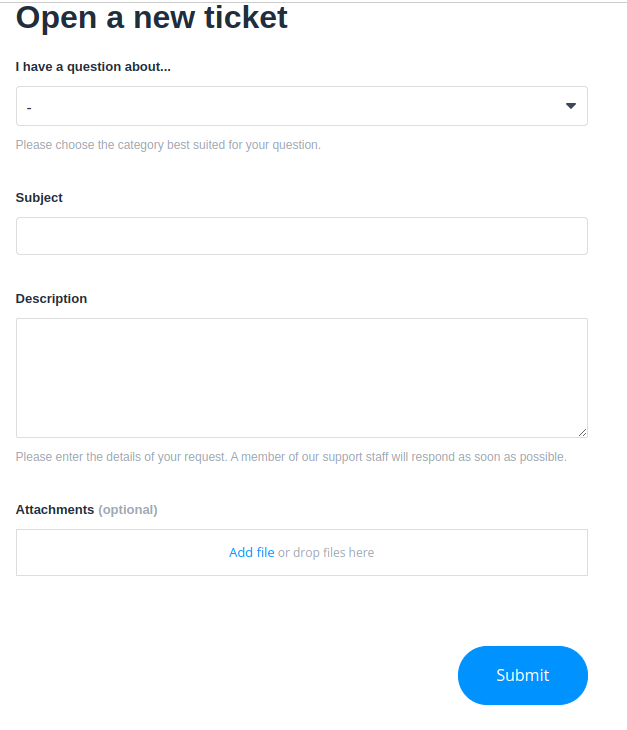
- Fill your ticket and click "Submit"
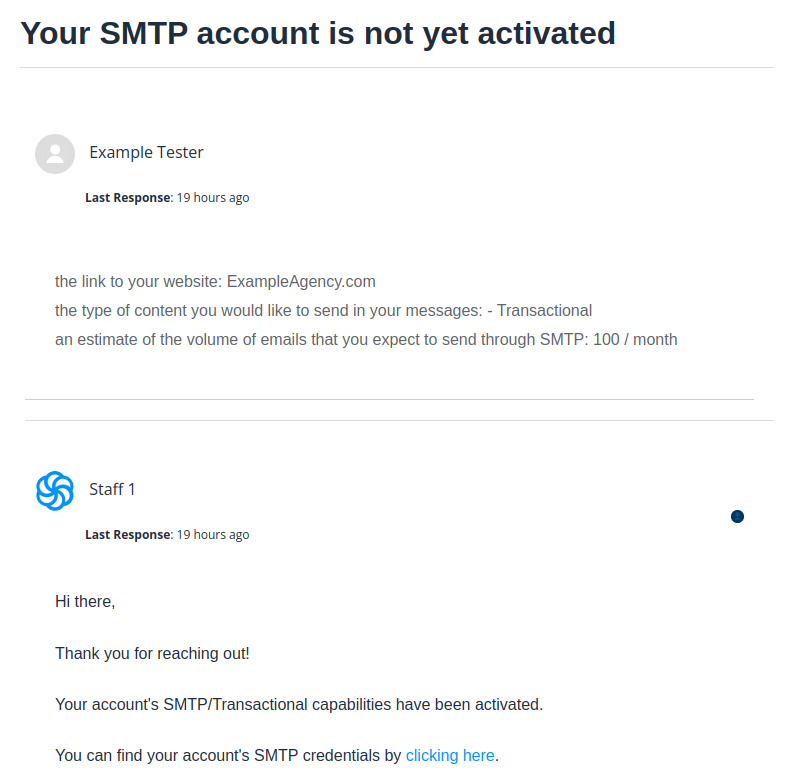
- SendInBlue will let you know if your account is active by respond to your ticket
3. Create a new SMTP key for your account
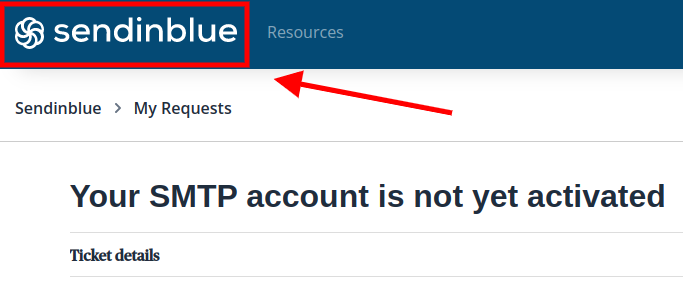
- Once your account has been activated, you can click on the company logo to access the dashboard
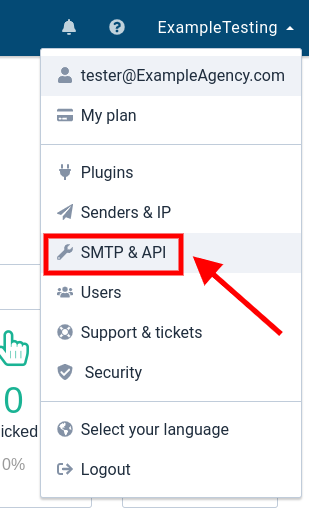
- Click on your profile name at the top right corner of your screen one time and "SMTP & API"
- And then, the "SMTP" tab

- Click on the blue button to create a new SMTP key

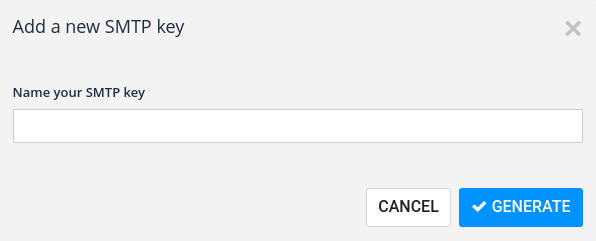
- You can name your SMTP key.
- Hit the "Generate" button
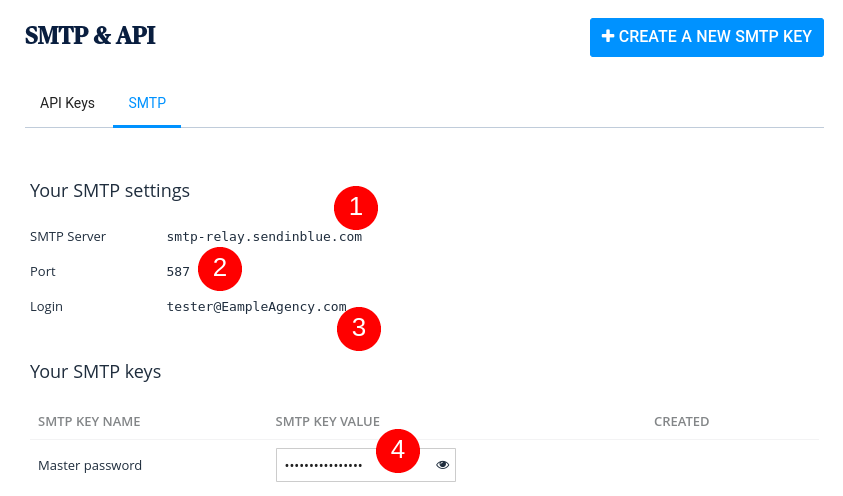
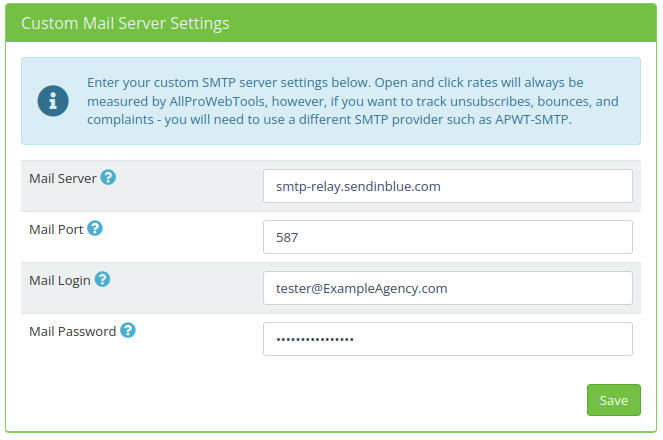
- Now, you'll see the SMTP credential that SendInBlue provided including Mail Server, Mail Port, Username and Password
4. Add the SMTP credential to AllProWebTools
- On your AllProWebTools account, you can go to the "Settings" > "Email"
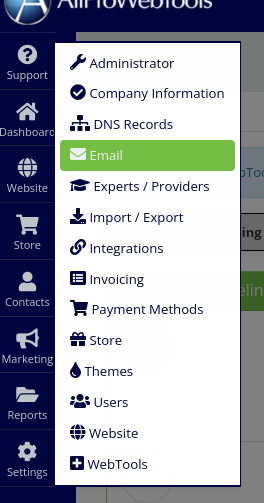
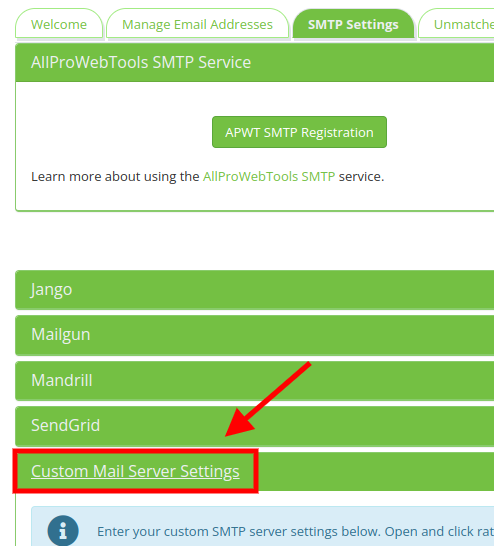
- Click on the "SMTP settings" tab
- And then click the "Custom Mail Server Settings" at the bottom of the page
- Here, You can fill in your Mail Server, Mail Port, Username and Password you received from SendInBlue
- "Save"
And there you go, Sending email has never been easier!

