New From AllProWebTools: Marketing Campaigns with AllProWebTools 5.0
Tuesday March 19, 2019
In AllProWebTools 5, we now offer Marketing Campaigns - the powerful update to email campaigns! With Marketing Campaigns, you can add texts, emails, and tasks to your campaigns.
Advantages of Marketing Campaigns
- Follow-up Variety: communicate with more than just emails to new leads; with marketing campaigns you can use texts, emails, calls, or postcards to follow-up!
- Lead Retention: with tasks in campaigns, you'll never forget to follow up again. Add a task to your campaign and get a customized reminder to follow up with that lead.
- Increased Efficiency: assign tasks to specific team members to make sure the right leads go to the right member and that no lead gets forgotten
- Improve Sales: with multiple ways to touch leads and increased team efficiency, you can close the deal with more leads.
How to Create a Marketing Campaign in AllProWebTools:
1. Create each content piece before creating the campaign.
Emails
Emails are now located under "Marketing" "Emails." Learn more about email marketing in our blog on email marketing essentials.
Texts
New texts - click "Marketing" "Texts." Find out how to add the Phone.com integration to your AllProWebTools account, and why text marketing is important in our recent blogs.
Tasks and task templates
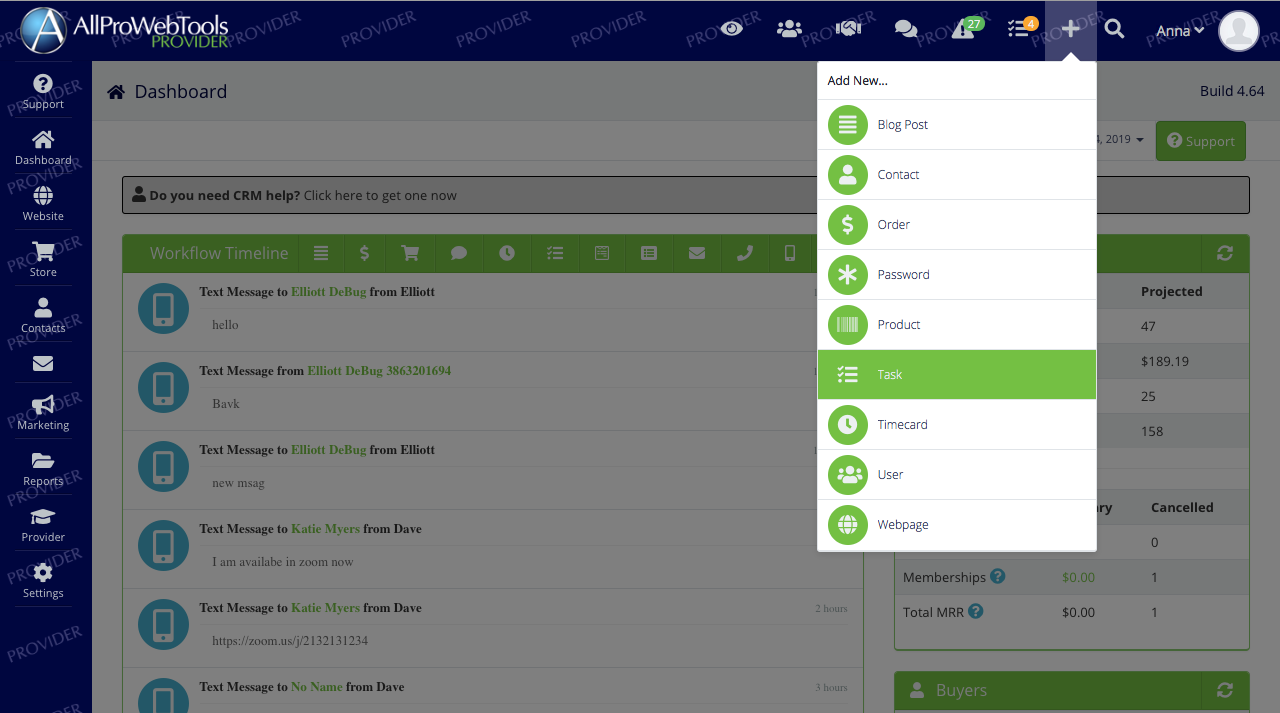
Click the at the top right corner of your AllProWebTools account. Then click "Tasks."
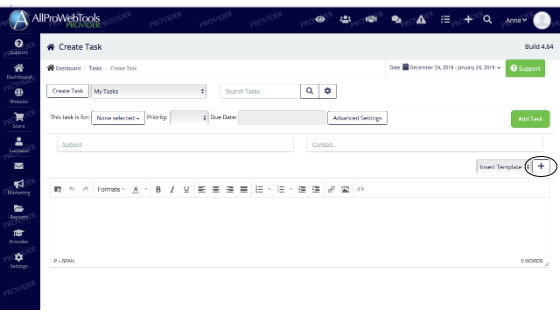
Click the next to "Insert Template" on the right side of the page.
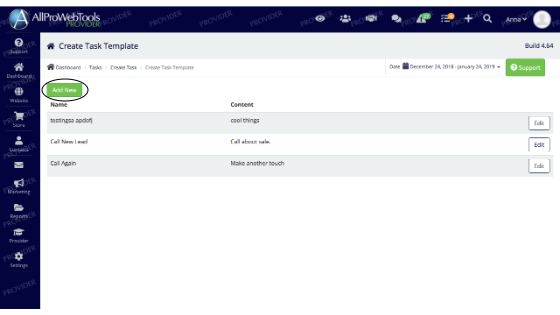
Click the "Add New" at the top left corner of the Create Task Template page.
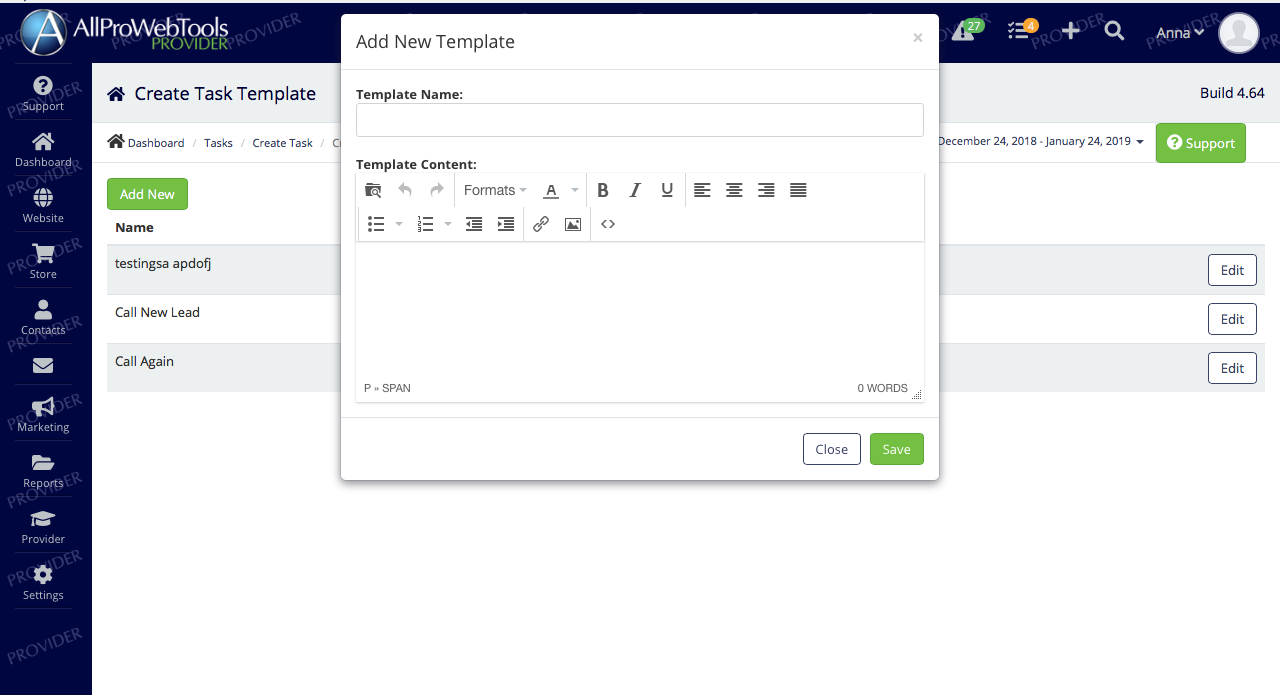
Add a name and description to your template, like "Call new lead," or "Send postcard to new lead."
2. Create a Marketing Campaign
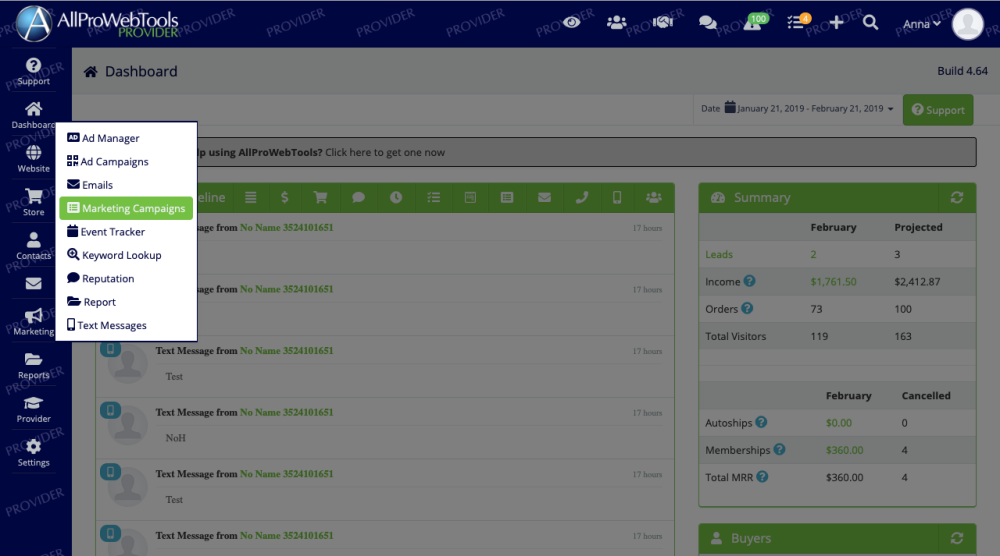
From the dashboard, go to "Marketing," and click "Marketing Campaigns."
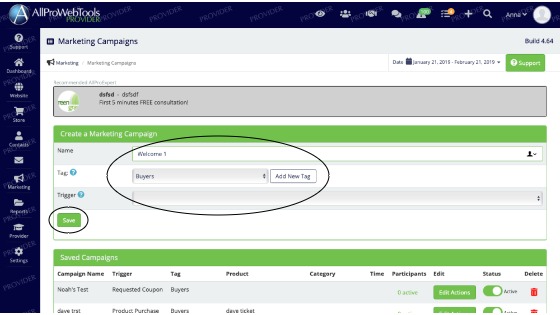
In Marketing Campaigns, go to the "Create New Campaign" section and enter the desired name, tag, and trigger.
3. Add individual emails, texts, or tasks to your marketing campaign.
Find the new campaign you just created in the list of "Saved Campaigns" and click "Edit Actions" to edit the campaign.

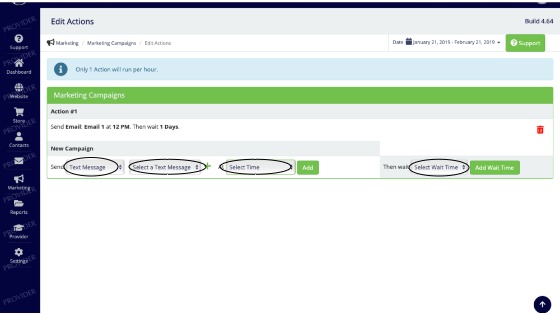
In the Marketing Campaign, select the inputs for the first content piece of the campaign:
-
- "Send" allows you to choose the type of content you want to send first - email, text, or task.
- "Select an Email" allows you to choose name of the email, text, or task you want to add.
- "At" lets you choose the time of day you want the content piece to be sent.
- "Then wait" lets you choose the amount of time you want in between the first content piece being sent out and the next piece.
(Tip: Choose the "Then wait" input first and click "Add wait time" BEFORE you click the "Add" button next to the "At" drop down menu.)

Continue adding as many content pieces as you want with the same process.
Excited about how marketing campaigns can improve your workflow, customer service, and sales? We hope so! We know this feature will be a powerful tool for you, and we can't wait for you to experience success with marketing campaigns!
Get Started with Marketing Campaigns
Ready to start implementing marketing campaigns? You'll need to add the Text Message Marketing WebTool and Email Marketing WebTool to your AllProWebTools account in order to add texts and emails to your marketing campaigns!

Anna Yates
Anna Yates is a Content Marketer with experience in social media marketing, email marketing, and blogging. She loves telling stories through writing and helping businesspeople find the solutions they need! Born and raised in Lakeland, Florida, she's right at home with the water and sun. When she's not outside, you may find her in one of Lakeland's quaint coffee shops with a cup of coffee, writing away.
Categories
Recent Posts
Popular Tags
funny stories content marketing CustoMonster support retention landing pages features webpages challenges growthArchives
Subscribe
